User Interface Tosca Structure.view | ||
| ||
The main window of Tosca Structure.view is shown in the following figure:
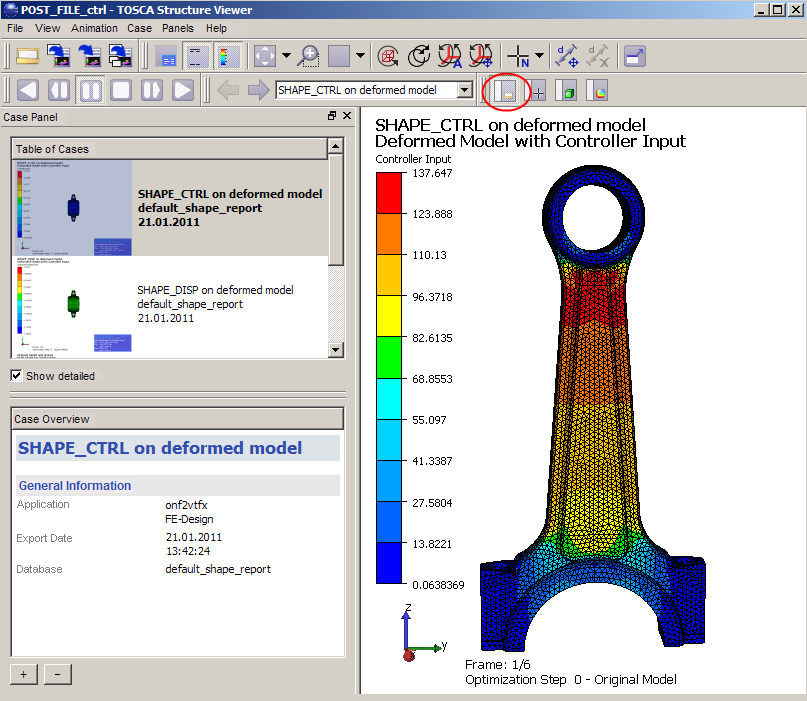 |
At the top, you have a menu and button panel. On the left, the case
panel is activated in which the different cases included in the vtfx
file are listed. Related case information for the active case is shown
at the bottom. To access the case panel, press the case button (marked
in the above figure).
Case Panel
- In the case panel, you can select another case by double-click on it or you pull the other case in the main window by pressing the left mouse button.
- For example, you can select the origin model or, if you are in shape optimization you can watch the displacements.
- You can also select different graphs, for example the convergence of the constraint.
- If you want to superpose two cases, press additionally "Alt"-key when pulling the second case in the main window. More information about the case is shown in the lower part of the panel.
Toolbar Functions
Several useful items of the menu are created as buttons, which are arranged in the button panel:
Open file. |
|
Capture active view, QuickCapture active view (with previous settings), and Capture all view cases to Tosca Structure Report Builder. |
|
Show or hide Info Box, Text, and Legend. (See also View menu). |
|
Reset view: Restores the default view. |
|
Rubber Band Zoom: zooms in the selected region. |
|
Viewports: Select the number of viewports (one to four) and their placement (vertical/horizontal split) |
|
Rotation and movement: Move as contour, move more than one part synchronously, rotate around an automatically chosen center and chose your required center of rotation yourself. |
|
Select a part or an element or a node by clicking them with the mouse. Selected objects are shown in the selection panel. |
|
Measure a distance and delete your measured distance. |
|
Full screen. |
|
To display another step or to start the animation, use the animation toolbar. The same actions are accessible in the main menu Animation group. |
|
Select one of the cases or go to the next or previous one. |
|
You can add or remove the case panel, the selection panel, the settings panel, and the result panel. |
Selection Panel
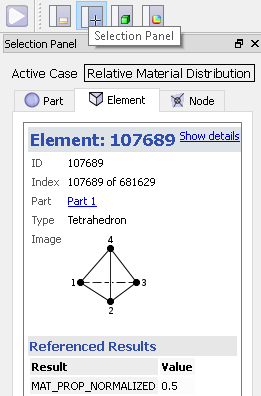
The selection on the toolbar enables
the selection of parts (such as the original and the new surface in VTFX
files generated by Tosca Structure.smooth)
elements or nodes by clicking them with the mouse. The selected object
is shown in details in Selection Panel.
 |
Settings Panel
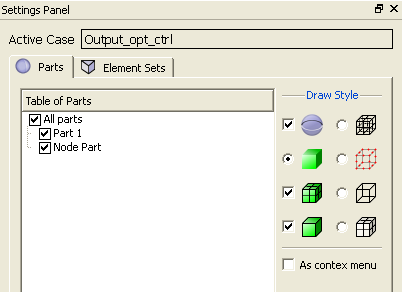
Settings Panel displays the panel containing the list of parts and groups (denoted "Element Sets"; the node groups are also shown via artificial element sets). It allows to set visibility and drawing modes of parts and element sets.
 |
Result Panel
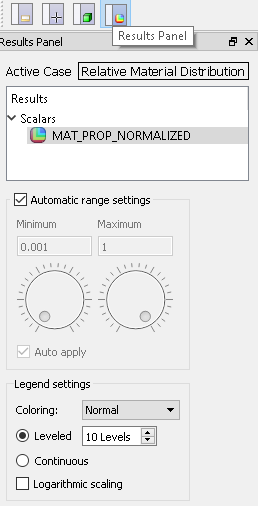
To change the settings of the fringe plot, display Results Panel using a button on the toolbar or main menu command. In this window, the coloring scheme can be changed in the Legend Settings panel; the values corresponding to the colors can be changed by clearing the Automatic range settings check box and entering the values in the Minimum and Maximum text fields or using the arrows below.
 |
| Tip: The information about the remaining toolbar buttons appears in the help window shown by command or when pressing F1-key. |
Viewport Settings
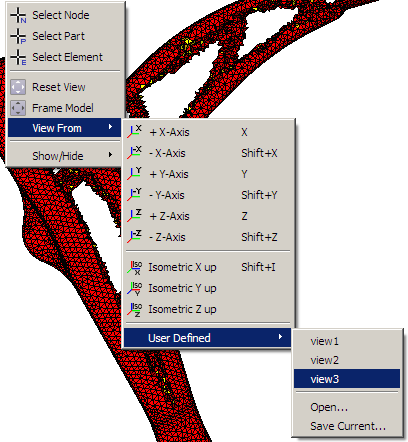
Tosca Structure.view allows to save the actual viewport and to reload existing user-defined viewports.
- Right-click inside the view window and choose .
- A file dialogue opens which allows the saving of the actual viewport in a .vcx file. This feature can also be accessed using the menu .
- An existing viewport is loaded in the
same manner: right-click inside the view window and choose . All viewports (
.vcxfiles) saved in the same folder as thevtfxfile are directly available in the submenu.
 |
Export Images and Animations
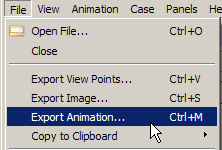
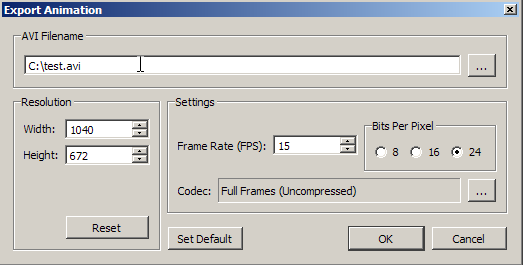
Tosca Structure.view allows the export of images of the current view or of animations in avi format (avi-export for Windows only):
Preferences
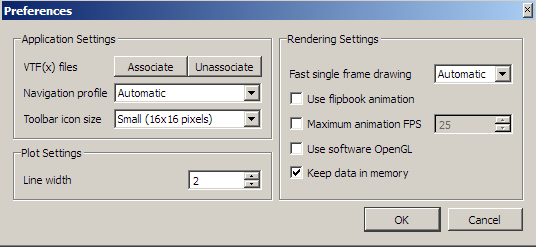
With , general settings for Tosca Structure.view can be saved. These include setting the plot line width.
