CFD Solver and Model Section | ||
| ||
The selection is depicted in the figure below:
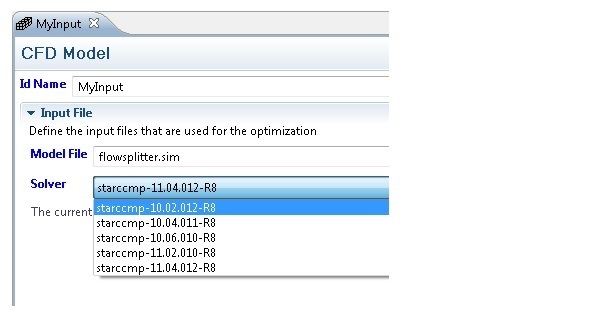
Finally all settings must be saved by clicking on the save (or save & close) button in the upper right corner. During the save operation Tosca Fluid.gui reads cell group and boundary region information from the CFD model. Based on this information cell and cellface groups are created automatically. The groups are inserted into the Group definition section.
After the data is saved the panel may be closed by clicking on the small cross icon on the panel tab switch.
After the CFD solver is determined the CFD model is selected that is to be used for the optimization. To open the CFD model panel of the CFD model section, double-click the entry in the job tree or use the context menu. The CFD model panel is depicted in the following figure:
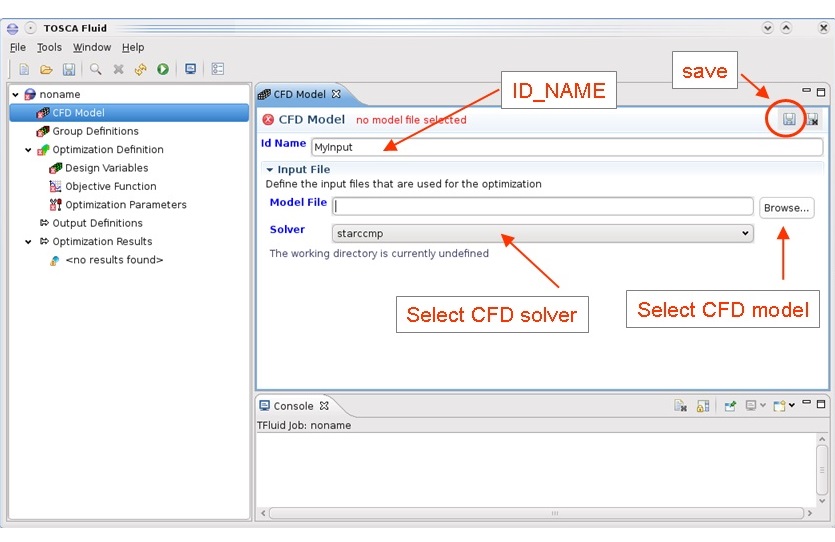
In the Model File field, the name of the CFD model must be entered. Alternatively, the model can be selected by clicking on the Browse… button. In this case, a file system dialog appears.
FLUENT®:
For FLUENT®, a case file (.cas) must be selected.
STAR-CCM+®:
For STAR-CCM+®, a simulation file (.sim) must be selected. In order to read such simulation files, the SIMULIA Tosca Fluid model reader must launch an instance of STAR-CCM+® in batch mode for a few seconds. A license for STAR-CCM+® must be available to ensure the successful import of the model.